-
18
Jan
I’m going to rush to get this post out ahead of the big Apple Education event on Thursday. All the hype is pointing to some sort of announcement of an easy way to create custom books for the iBook app. While this is certainly exciting news, I’m sure it is going to come with a bunch of “How to Use [Apple’s Newest Thing] in Education” tweets, blog posts, lists and presentations. So ahead of all the hipster, fanboy, and hater posts that will inevitably follow Apple’s big announcement tomorrow, I’m bringing you this post. Option 1 from my Creating Custom Digital Content for iPad: Educators Have Options series!
In this post, we’ll take a closer look at the Creative Book Builder app for iPhone and iPad. Created by Tiger Ng, this app is currently selling for $3.99 in the iTunes Store.
Creative Book Builder enables everyone to create, edit and publish ebooks in minutes. Creative Book Builder can import document from Google Docs and parse HTML output into chapter. Create unlimited number of chapters add title, description, images, videos, audio recording, music, links, and lists. CBB lets you sort your content’s ordering within a chapter and customize your cover image.
What I did with CBB:
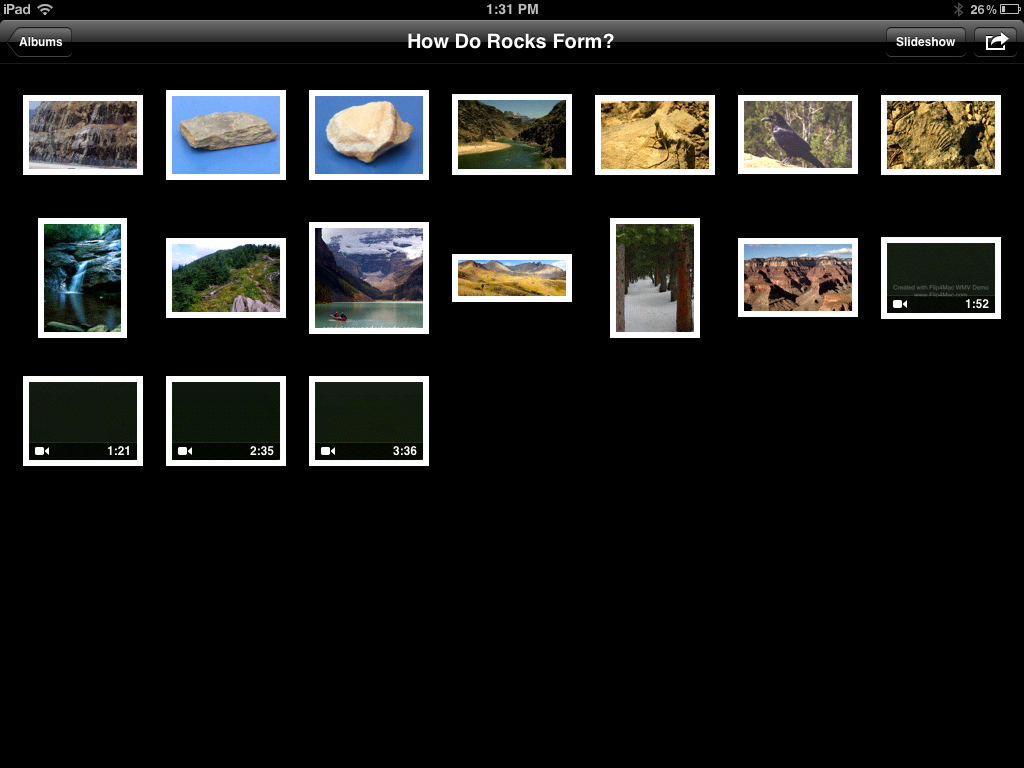
My plan is to base this project on a second grade Rocks & Fossils unit that my wife and a colleague originally developed in 2005. That unit contains a collection of resources ranging from a section of a science textbook, videos, digital photos and a couple PPT presentations. I have all the various source files stored on my Dropbox account and in my iTunes/iPhoto albums so I can access them as needed across devices.
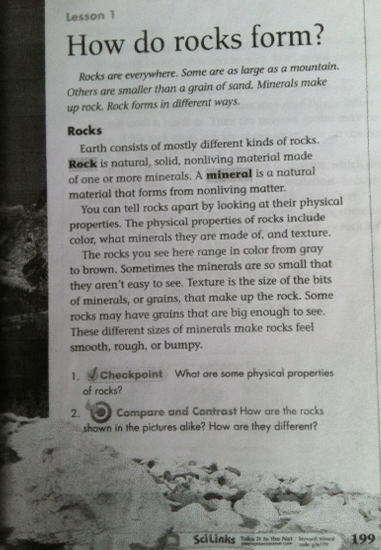
To get started, I created a new project in CBB app. I’m not going to go through every step in that process, but there is some documentation at CBB website. For this particular eBook, I decided to pull key text passages directly from the text book source. I don’t even know what textbook publisher this text is from at this point, as I am currently working from a few photo copied pages. If you are creating a “spontaneous” eBook “for maximum teaching effectiveness” that will only as an instructional resource for in your classroom, you should be all right in terms of copyright.
I used the free ImageToText app to snap a picture of the textbook and then convert it to a digital format tat I could copy and paste. ImageToText allows me to email the digital formatted text to myself. From there, I can select text text and copy it to the iPad clipboard.
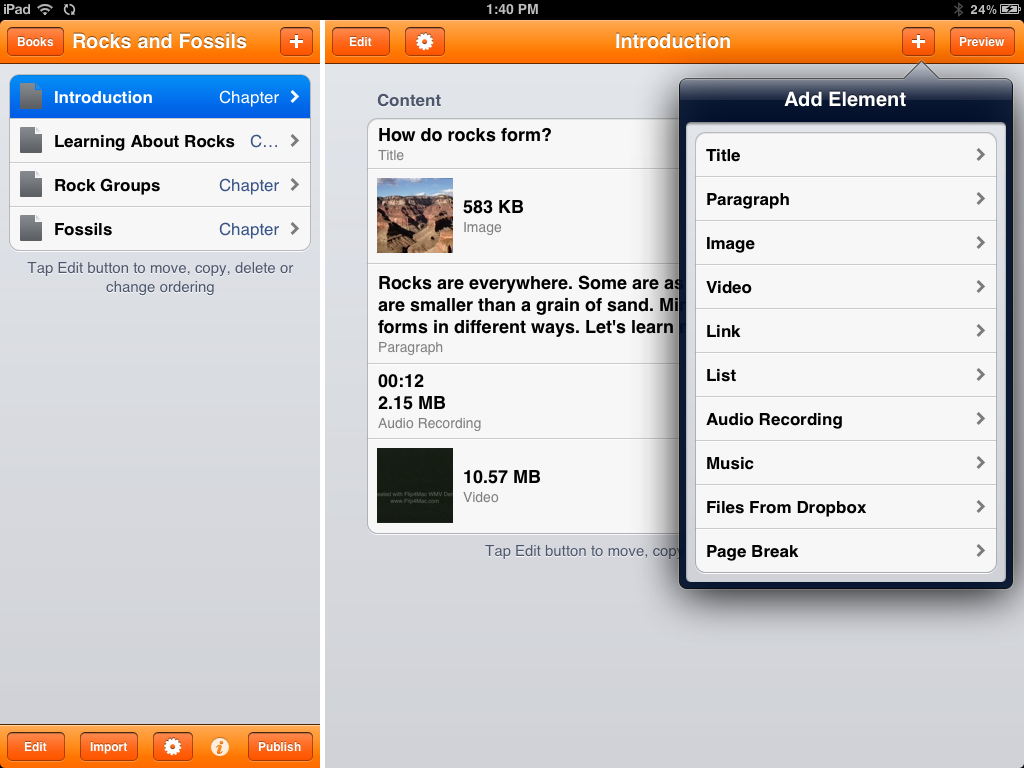
As you can see, the formatting on the ImageToText email is a little off, but deleting a few extra spaces is much more appealing to me than typing in all the text by hand. Once I have selected and copied the segment of the text that I want to work with, I use the multitask feature to open up the CBB app. From my new CBB project, I use the + button to Add Element. A quick double-tap in the text field allows me to easily paste the copied text in this new element.
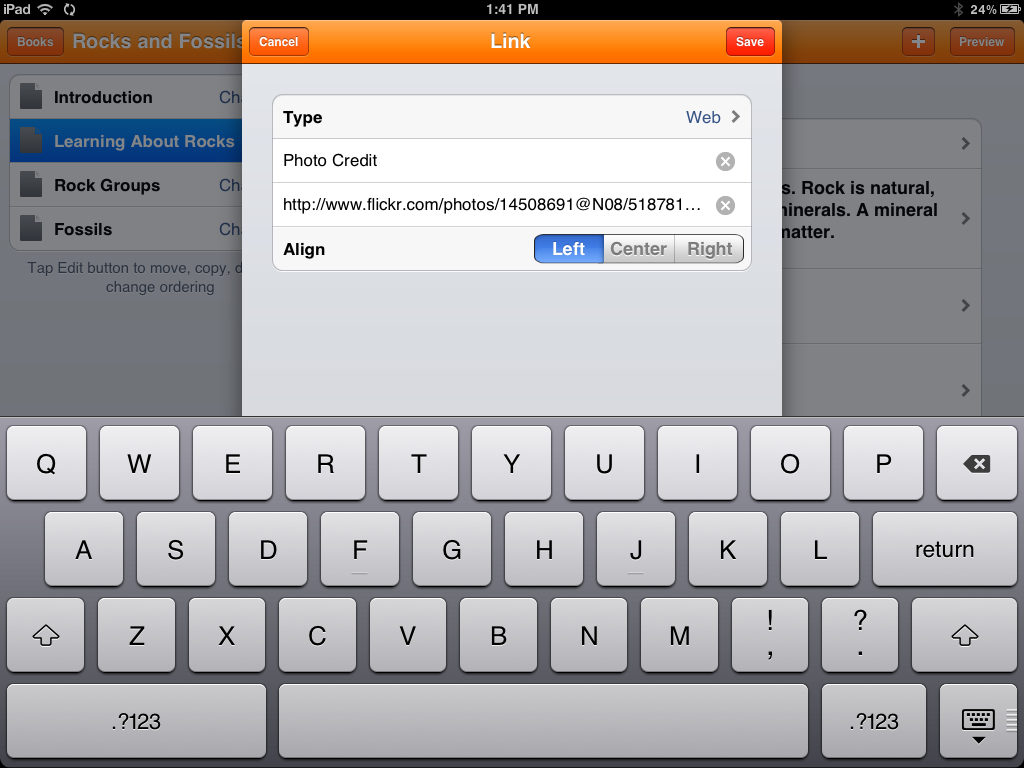
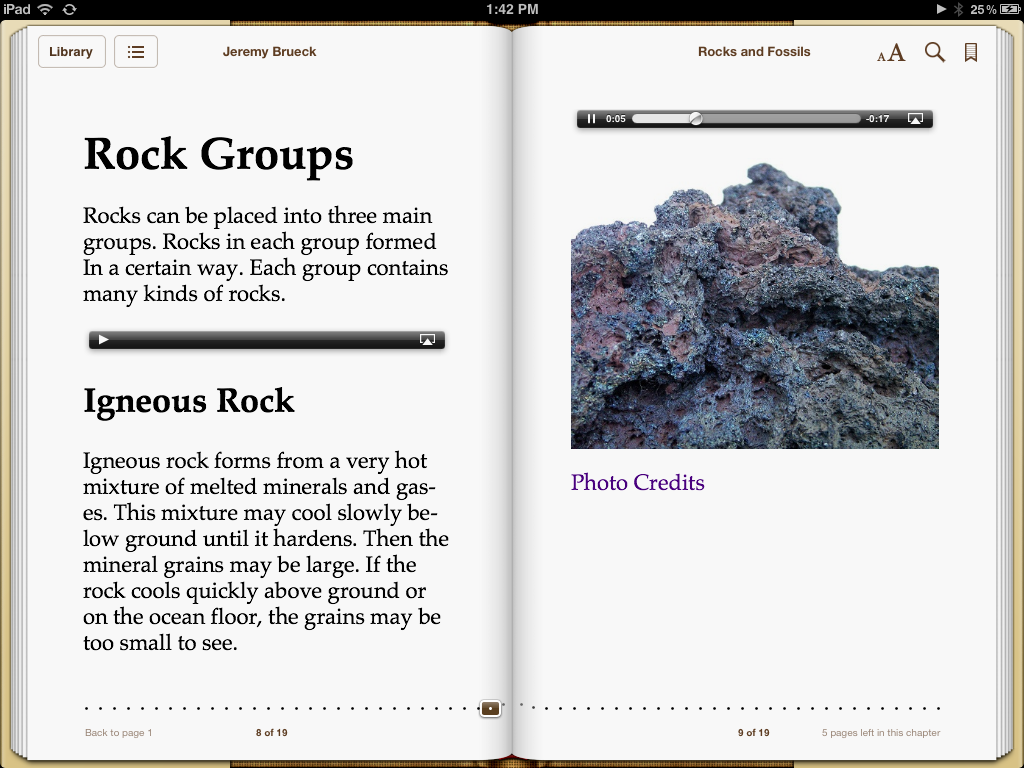
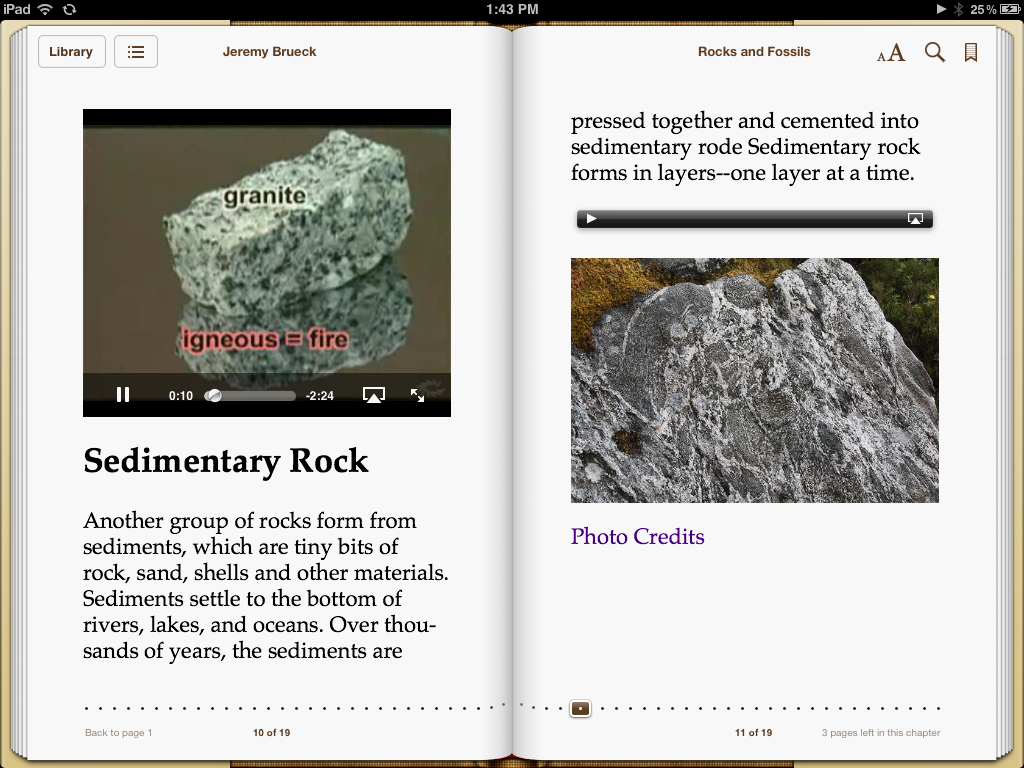
Using this copy/paste method, I was able to layout my entire eBook in CBB in under an hour. It should be noted, that I chose not to replicate the original textbook entirely. I did use key text passages from the textbook, but I also included other media sources that I collected. I was able to use Flickr to search for Creative Commons licensed photos that were included. One nice feature of CBB is that it provides a LINK element. This allowed me to include proper attribution to the the Flickr source.
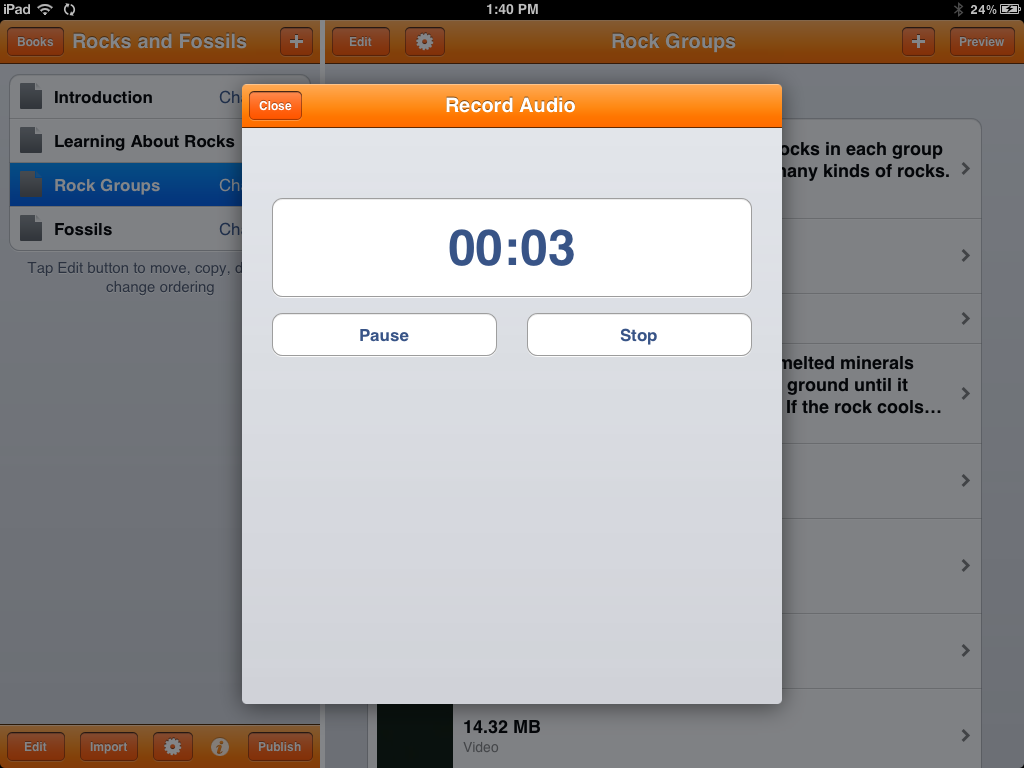
Another nice feature of CBB is the VIDEO element. If you create your own video files in iMovie or another video editing app, it is really easy to insert them into your eBook from the iPhoto library on your iPad. In addition, CBB has an AUDIO RECORDING element that allows you to record your own audio in real-time and include in your eBook. For this project, I decided to record myself narrating each paragraph of text. It seems like this would be a helpful feature to differentiate instruction for students. You can give them the opportunity to read the text independently, or listen to the text being read to them.
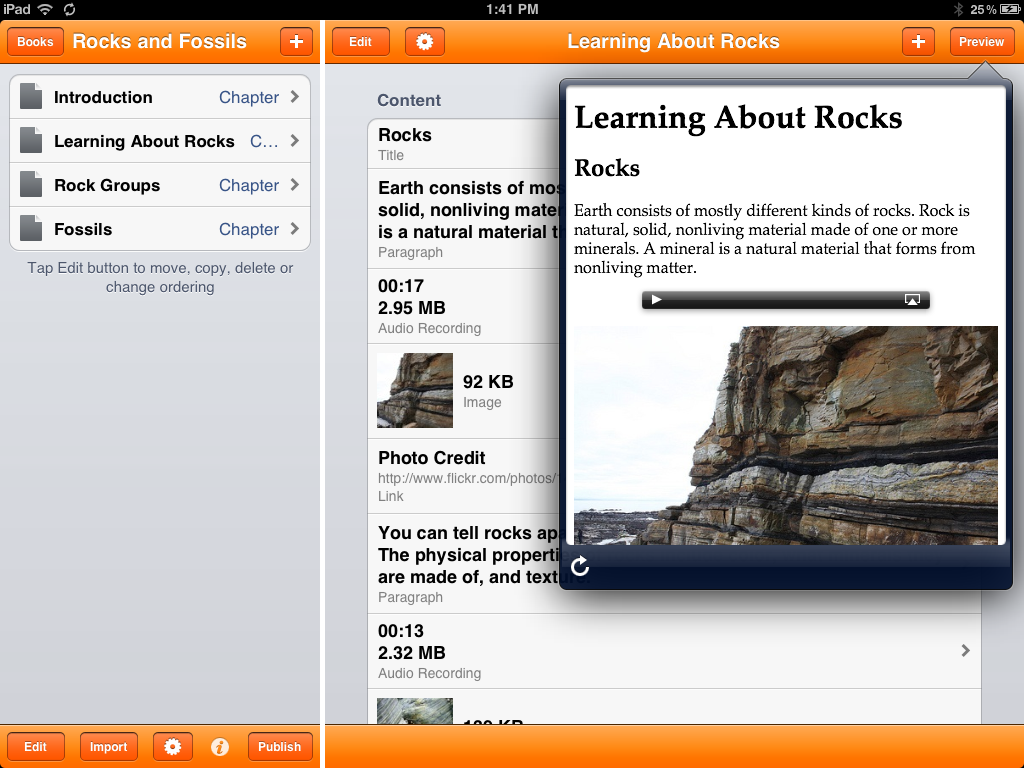
As you are creating your custom eBook in CBB, a PREVIEW feature provides quick access to review the “print layout” of the current chapter.
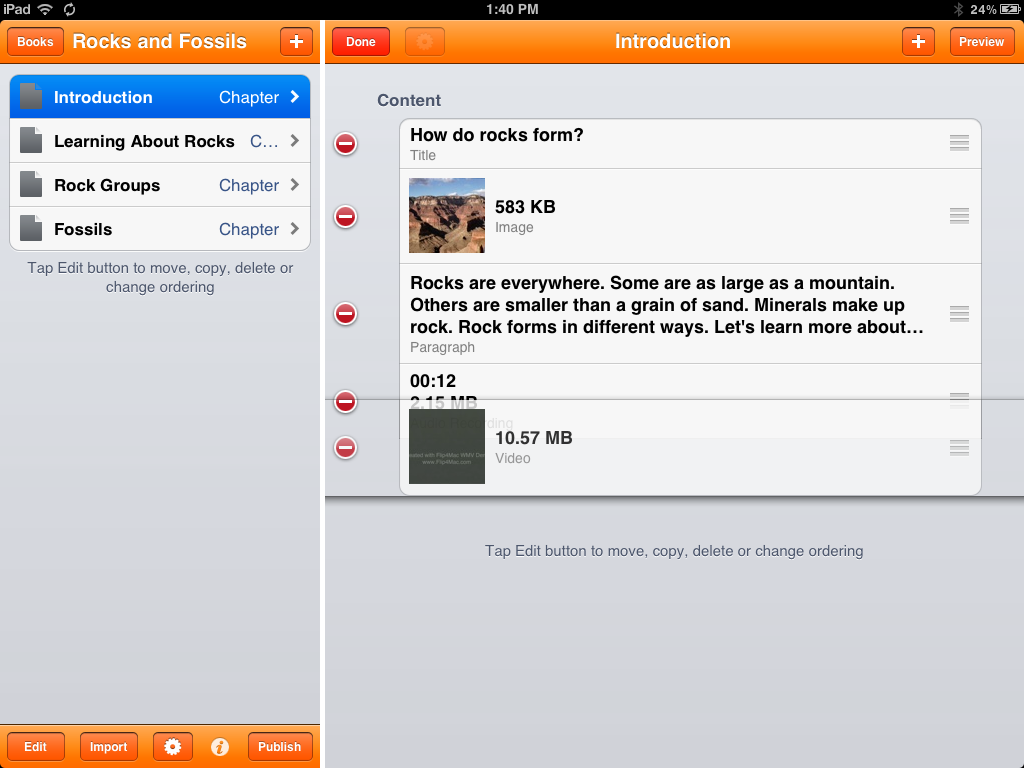
When it’s time to arrange or modify all the various elements you’ve created in CBB, it’s a s simple as a drag-and-drop interface. Simply turn the EDIT feature on and drag the element up or down to place.
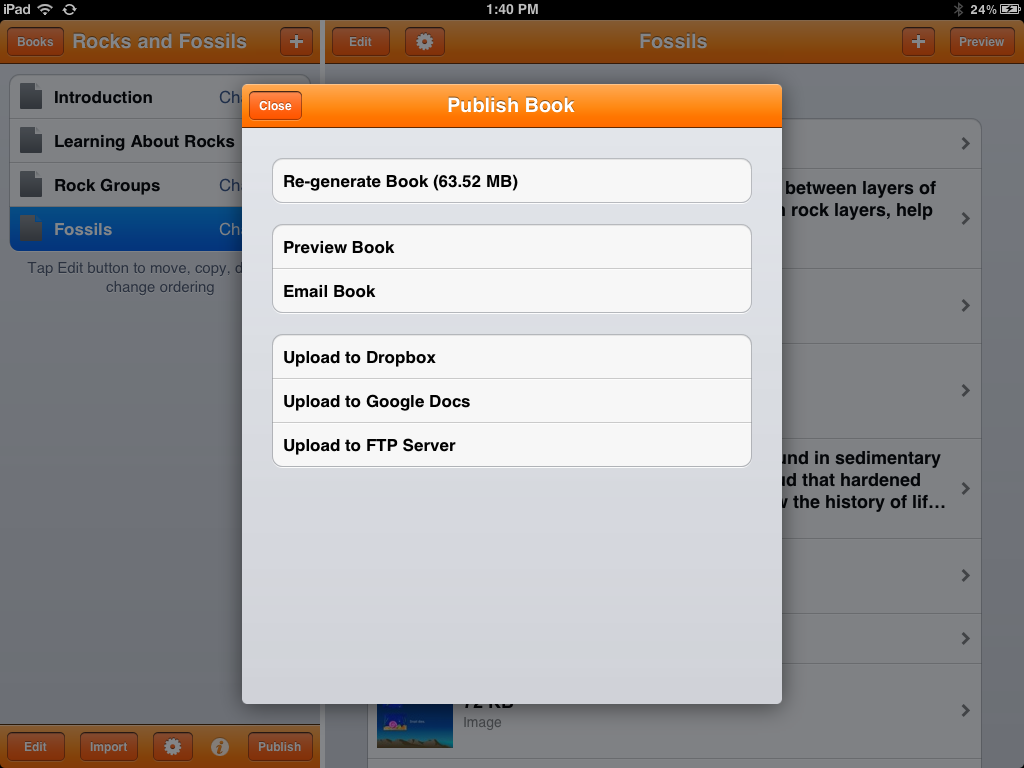
When you are satisfied with your eBook, publishing is also a simple process. CBB allows direct export of your custom .epub file to your Dropbox account. You can also email the .epub file from your iPad or iPhone.
The .epub files that you create integrate seamlessly with the iBooks platform. You can move your custom eBook to your iBooks library directly on your iPad or by using iTunes on your desktop or laptop.
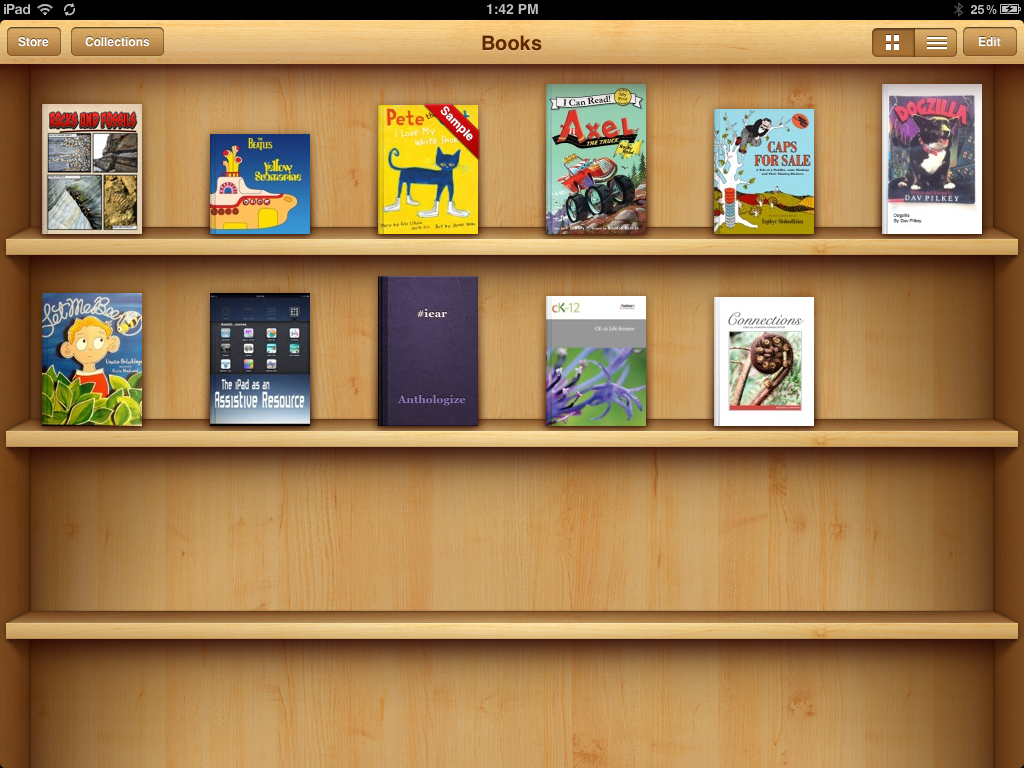
When viewed in iBooks, the finished product is really impressive.
In general, I found Creative Book Builder to be a real simple way to create a nice custom eBook that contains a variety of media content. I really like the clean and simple interface of the app. While I did not take advantage of the Google Docs integration for this project, I see that as a quality feature. You could easily layout a complete publication on your computer and pull it into CBB for quick and easy eBook authoring. One thing I have not explored in too much detail is how the .epub files you create work with other eReader devices. If you have any information on that, please weigh in on the topic in the comments section of this post. Finally, if you are interested, you can download a copy of the Rocks and Fossils eBook I created using Creative Book Builder and check it out up close.
- Published by brueckj23 in: Raised Digital
- If you like this blog please take a second from your precious time and subscribe to my rss feed!




2 Responses to “Building Custom eBooks with Creative Book Builder”
I tried one ePub reader with your rock CBB product. I could view graphics and text but all video and audio recordings were unavailable. I am sure as “interactive textbooks”catch on, better ePub readers will come along to take advantage off all the features. As a teacher, I would like to leave copies of my educational CCB products on my websites foe use by students without an IPad.
I think that’s a great point and certainly a limitation of this app. I’m glad you tried out the book on a different type of device and I appreciate you taking the time to let me know what worked and what didn’t work. I agree that as digital text becomes more prominent, the tools that will become available to create and self-publish eBooks will become more robust. I think that the lack of a common file type in the industry is one thing that is holding back movement in this area. I have a colleague in my office who is a developer. After I initially showed him the CBB app, he sent me the following email back on November 9, 2011 (prior to iBooks Author release), which points out the very issue you have raised.
-j,
Been doing a lot of research on epub stuff since you showed me that app. I’ve noticed that sometimes the ‘published’ books from CBB are not seen as ‘valid’ by other readers (than iBooks). Still investigating reasons for that. It has something to do with the configuration files or file structure within the ‘.epub’ package, I’m guessing.
Also, things like video used in CBB book won’t be visible on many other readers, since video is not a ‘core media type’ in the current epub spec [2.x] or the proposed one [3.0]. At least mp4 audio has been added to the proposal as well as embedded fonts [so you won’t be stuck with the ‘iBooks’ native font].
FYI: check out the OSX Lion info here: http://www.macosxautomation.com/lion/epub/index.html [create epub files from clipboard content, selected text, etc]. That looks pretty cool.
—
Delivering courses via epub could be difficult for a while due to lack of standardization and limited media type support. You could maybe target one device and screen size at this point. EPUB is also designed for ‘text flow’, which is great for letting the device reader reposition content as needed based on its display, but terrible if you need to control layout for any reason. That seems to be why many magazine publishers are writing their own apps (NY Times uses Adobe Air, e.g.) so layout and bling are more controlled and content can be auto-updated.
Cheers,
-a
Even with these limitations, I still feel that for teacher self-authoring of iBooks compatible “eBooks” directly on the iPad, CBB is still an effective and affordable tool. I do hope that we see improvement in this product and also an evolution of EPUB format that is more standardized across devices so that teachers can reach all learners with the content they develop.
Leave a Reply